A-Frame Site Preparation: From Clearing to Access
What to do before you start building an A-Frame: clearing the plot, soil investigation, excavation, access track, temporary power and water, and coordinating the crew.
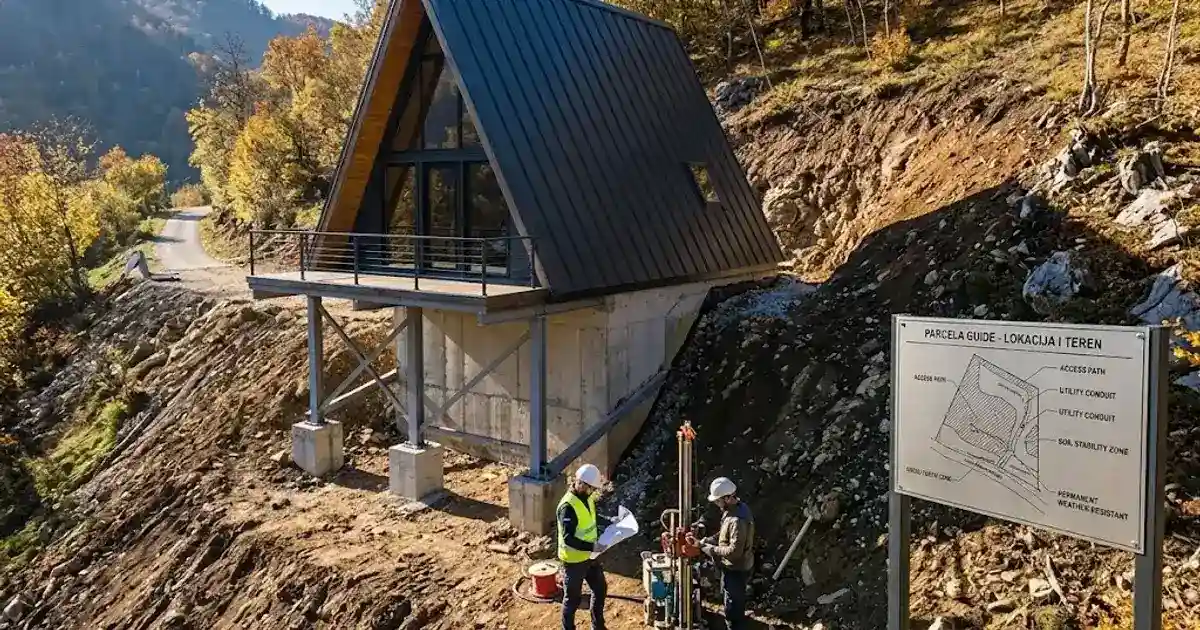
Before the first timber goes up or the first concrete is poured, the success of your A-Frame project is largely determined by what happens on the ground. Site preparation is the foundational step that ensures everything else runs smoothly. A well-prepared site prevents costly delays, ensures safety during construction, and sets the stage for a long-lasting, stable structure. Whether you are building a small weekend cabin or a large permanent residence, understanding the intricacies of site preparation—from initial clearing to establishing a proper access track—is absolutely essential for any self-builder or project manager.
Comprehensive Site Assessment
The very first step is a thorough site assessment. You need to understand the topography, natural features, and potential challenges of your land. Observe the slope and natural drainage patterns; water management is crucial to prevent your future foundations from becoming waterlogged. Note the existing trees, large boulders, and any natural dips or ridges. Orientation also plays a key role—consider where the sun rises and sets to maximize passive solar heating through your A-Frame's large glazed gables. A good assessment also looks at how easily construction vehicles can enter and maneuver on the plot. A detailed understanding of the location and terrain will inform all subsequent decisions.
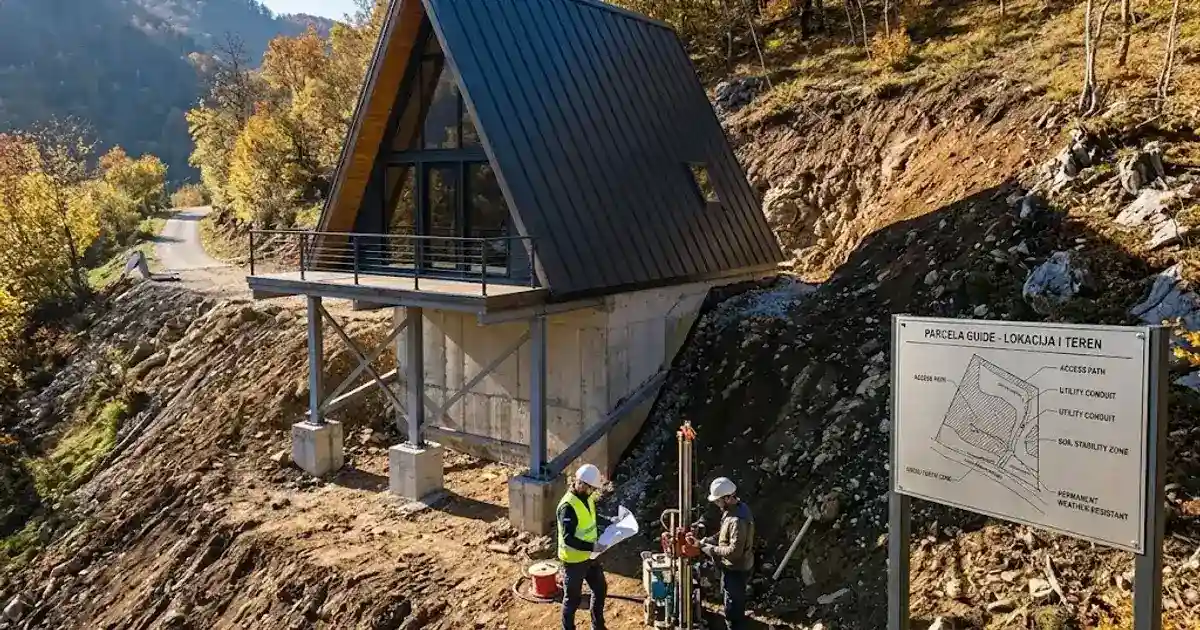 Geotechnical soil testing and slope drilling on steep A-frame site
Clearing and Felling Strategy
Once you have a plan, clearing the site is the next major task. This involves removing scrub, underbrush, and trees that are directly in the footprint of your cabin or the access path. However, indiscriminate clearing should be avoided. Keep healthy, mature trees that provide natural shade, wind protection, or aesthetic value. For the trees that must go, felling should be done by professionals if they are large or close to property lines. Stumps within the building footprint must be completely removed or ground down, as rotting roots can cause soil instability over time. The cleared organic material should be separated from soil, as topsoil will be reused later for landscaping.
Soil Investigation and Geotechnical Surveys
Never assume you know what lies beneath the surface. Soil investigation is vital. For smaller, lighter A-Frames on flat ground, a visual inspection and digging a few test pits might be sufficient to identify the soil type (clay, sand, rock). However, for heavier builds, steep slopes, or areas with a history of poor ground conditions, a formal geotechnical survey is highly recommended. A soil report will give you exact load-bearing capacities (measured in kN/m²) and dictate the type of foundation required. Investing in this survey early can save thousands of euros in remedial foundation work later.
Excavation, Levelling, and Drainage
With the footprint cleared and soil understood, excavation begins. While hand digging is possible for very small micro-cabins or deck footings, hiring a mini-excavator is usually the most time-efficient and cost-effective approach. The goal is to reach solid, undisturbed subsoil. For A-Frames on sloped sites, you will likely need to cut into the hill and use the spoil to fill lower areas, or remove the spoil entirely. Proper grading is critical here: the ground immediately surrounding the cabin must slope away from the structure at a minimum gradient of 5% for the first 3 meters to ensure surface water drains away efficiently.
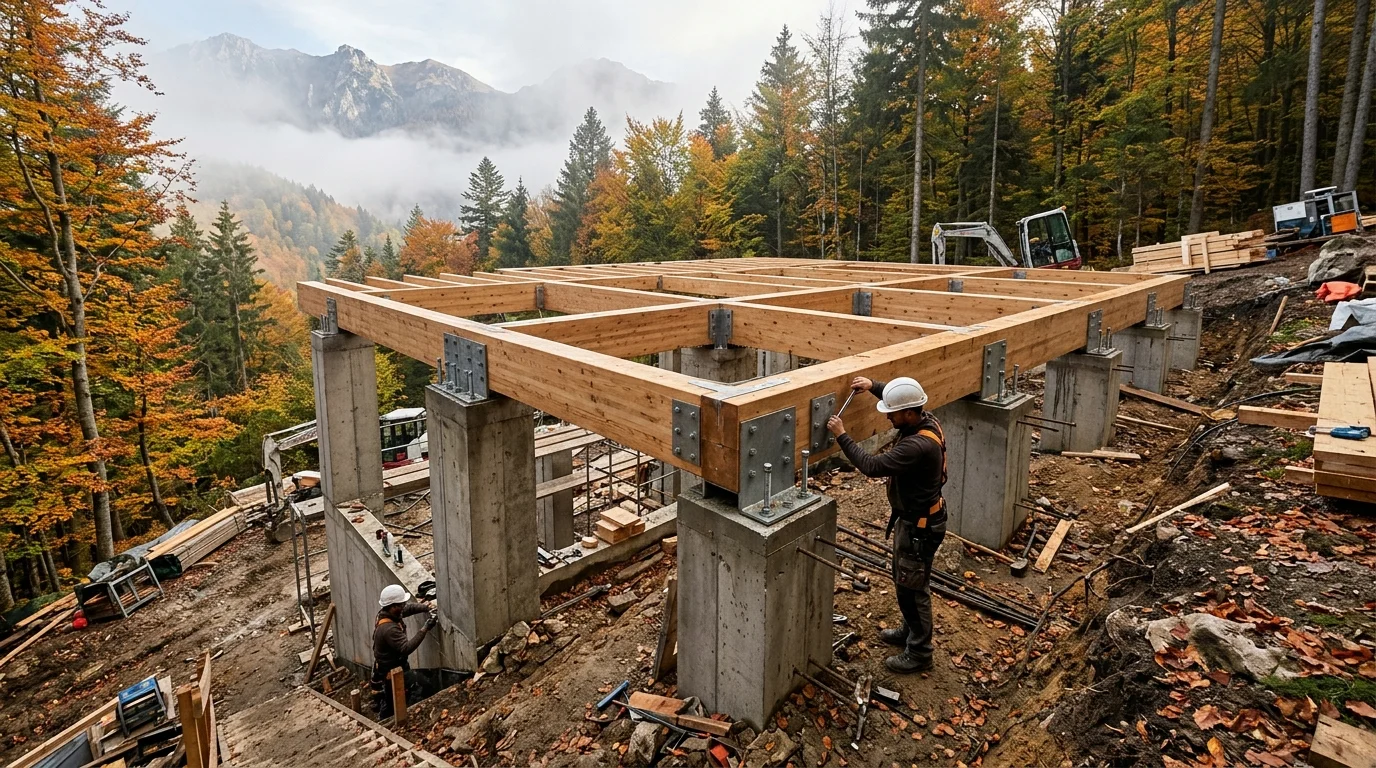 Completed excavation with poured concrete piers and leveled hillside platform
Establishing a Reliable Access Track
Construction requires bringing heavy materials, machinery, and workers to the site. A proper access track is non-negotiable. The access road should be a minimum of 3 meters wide and constructed to support the weight of fully loaded delivery trucks or a concrete mixer (which can weigh over 30 tonnes). Typically, this involves stripping the topsoil and laying a geotextile membrane, followed by a compacted layer of coarse gravel or crushed stone (usually 15-20 cm thick). This temporary base will prevent vehicles from getting bogged down in mud during wet weather and can later be upgraded to your permanent driveway once the building process is complete.
Temporary Services and Site Setup
A functional construction site needs basic services. You will need site power, either through a temporary grid connection (a builder's pole) or a reliable generator, to run power tools and equipment. Water is equally important, especially if you are mixing concrete on site, cleaning tools, or simply providing drinking and washing facilities for the workforce. If a mains water connection isn't available yet, an IBC tote tank filled periodically is a common solution. Proper site setup also means designating specific areas for material storage, ensuring they are flat, dry, and easily accessible from the track.
Managing Site Waste Effectively
Waste management starts on day one. Establish a dedicated area for a skip or dumpster, ideally near the access track so it can be easily collected and replaced by a disposal truck. Separate waste as much as possible—timber offcuts, plastics, metal, and general waste. Efficient waste management not only keeps the site safe and organized but also reduces disposal costs and environmental impact. Ensure you have a clear staging area for material deliveries so new supplies don't become mixed with construction debris.
Site Preparation Tasks and Estimated Costs
The costs associated with site preparation can vary wildly depending on the terrain, location, and the amount of work you do yourself. Below is a general guide for a standard A-Frame build on a moderately challenging site.
| Task | Who Performs It | Stage in Process | Typical Cost (€) |
|---|---|---|---|
| Initial Site Survey | Land Surveyor / Owner | Week 1 | 400 - 800 |
| Geotechnical Soil Test | Geotechnical Engineer | Week 1-2 | 800 - 1,500 |
| Clearing & Tree Felling | Arborist / Groundworker | Week 2-3 | 500 - 2,000 |
| Excavation & Grading | Machine Operator | Week 3-4 | 1,000 - 3,500 |
| Access Track Construction | Groundworker | Week 2-3 | 1,500 - 4,000 |
| Temporary Services Setup | Electrician / Plumber | Week 3-4 | 500 - 1,200 |
Crucial Safety Note: Before any machine bucket hits the dirt or a shovel goes into the ground, you absolutely must locate all underground utilities. Gas lines, water mains, and high-voltage electrical cables can be hidden just beneath the surface. Always use a cable avoidance tool (CAT) and consult local utility maps. Using qualified groundworkers for heavy machinery operations is highly recommended to ensure both safety and compliance.
FAQ
What if the terrain is not flat?
If your terrain is sloped, you will need to perform cut-and-fill excavation or design a foundation system that accommodates the slope, such as raised timber pilings or a stepped retaining wall. Sloped sites often require more complex drainage solutions and might increase initial earthwork costs, but they provide excellent views and natural drainage.
How long does site preparation take?
For a relatively straightforward, flat site with good access, basic preparation can be completed in 1 to 2 weeks. However, if the site requires extensive tree removal, deep excavation, long access road construction, or if you are delayed by poor weather, it can easily take 3 to 6 weeks before you are ready for foundations.
Do I need an access road if building by hand?
Even if you plan to build the entire cabin by hand, an access path is still highly recommended. You will need a way to transport raw materials like heavy timber beams, roofing sheets, and concrete bags close to the footprint. A reinforced gravel path makes moving materials with a wheelbarrow or small dumper much safer and far less exhausting.
Ready to plan your build?
Proper site preparation sets the tone for your entire A-Frame project. Knowing the costs and the steps involved helps you budget accurately and avoid nasty surprises once the diggers arrive. If you are ready to start planning the overall budget for your dream cabin, use our A-Frame Cost Calculator to estimate your material and construction expenses from the ground up!
Prefab A-Frame Kits vs Custom Build: Which to Choose?
Comparing prefab A-Frame kits with a custom build: price, speed, quality, flexibility, and assembly time. When each option makes sense.
A-Frame Build Timeline: From Idea to Move-In
A realistic A-Frame build timeline: preparation, construction and finishing phases, how long each phase typically takes, and what can push the schedule out.
Winter A-Frame Construction: Building in Cold Weather Guide
How to build an A-Frame house in winter? Learn about concrete temperature limits, wood moisture management, prefabrication, and cold weather building costs.