A-Frame Roof Framing: A Guide to Rafters and Frames
How A-Frame frame construction works: sizing rafters, the ridge beam, collar ties, frame spacing, and the joints that carry roof and walls at once.
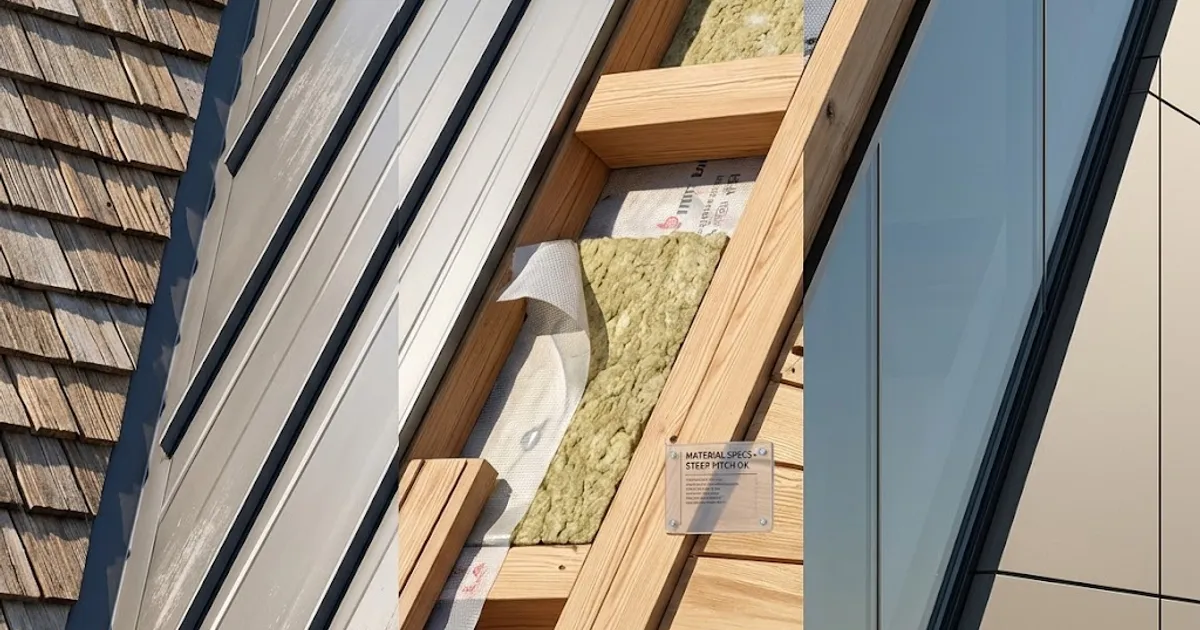
In most houses the roof sits on top of the walls, but an A-Frame is different. Here the rafters are the walls and the roof at the same time — a pair of sloping timbers runs from the floor all the way to the peak, and that is the entire building envelope. Because there is no separate wall structure to hide behind, the frame carries everything: snow on the roof, wind on the slopes, and the weight of the house itself. Getting the framing right is not one detail among many. It is the whole job.
The A-Frame structural principle
An A-Frame works because of the triangle. Two rafters lean against each other and meet at the ridge, and the floor closes the bottom of the shape. A triangle is the only shape that cannot deform without changing the length of its sides, which makes it the strongest and stiffest form you can build from straight timber.
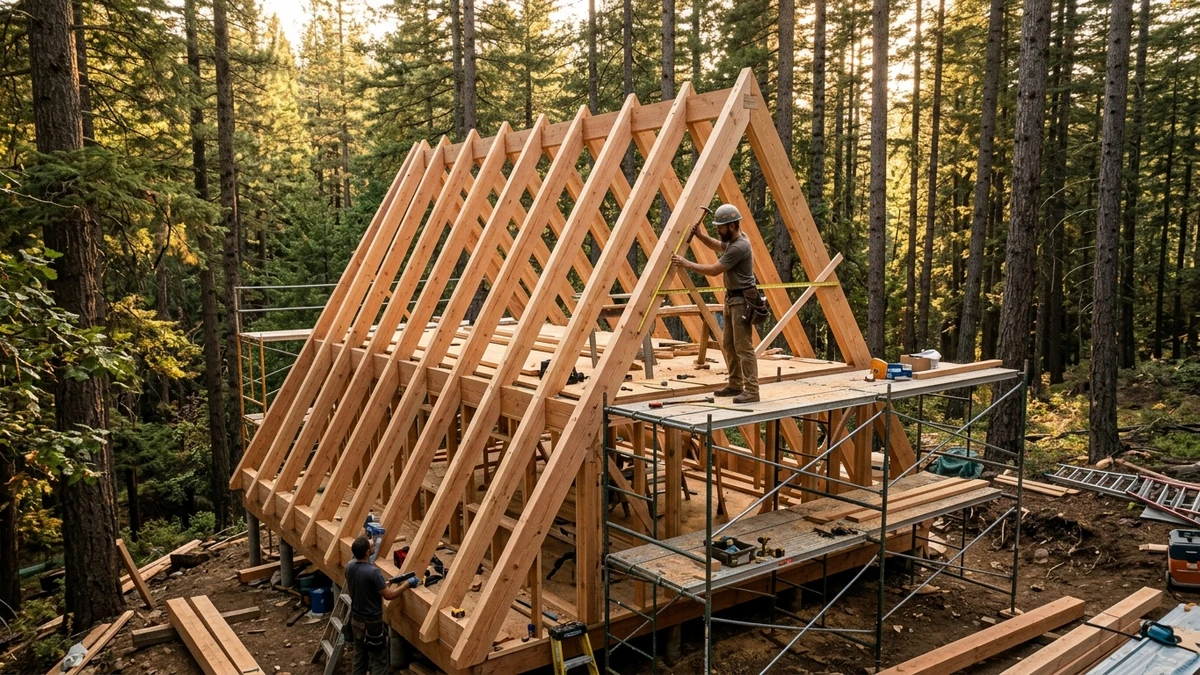 Carpenters assembling heavy timber A-frame rafters on construction scaffolding
Repeat that triangle every half-metre or so along the length of the house and you get a series of identical frames — the ribs of the building. Sheathing and roofing tie them together so they act as one rigid shell.
The catch is thrust. When load pushes down on the ridge, the feet of the rafters want to kick outward. Something has to hold them in. In an A-Frame that job falls to the floor structure and the tie members at the base. Without a tie, the walls slowly spread and the ridge drops — the classic failure of an under-tied frame.
Key members
Each part of the frame has one job, and they only work as a set.
- Rafters — the sloping members that form the walls and roof. They carry bending and compression down to the base.
- Ridge beam or ridge board — runs along the peak where the rafter pairs meet. A structural ridge beam carries load; a lighter ridge board mainly aligns the rafters.
- Collar ties — horizontal members fixed higher up between rafter pairs. They stop the slopes from bowing and stiffen the upper frame.
- Floor joists acting as ties — the joists span between the rafter feet and resist the outward thrust. In an A-Frame the floor is structural, not just something to walk on.
- Base connection — anchors the rafter feet to the foundation, tying the whole frame down against wind uplift.
Sizing and spacing
Member size depends on two things: how far the timber has to span and how much load it carries. A small cabin can use modest sections; a wide, tall A-Frame needs deeper rafters or engineered timber such as LVL or glulam, which stay straight over long spans.
Typical rafter spacing sits around 40–60 cm. Closer spacing lets you use smaller sections; wider spacing needs bigger members and heavier sheathing. The loads that actually drive the sizing are snow and wind, and these vary enormously by location — a mountain site can carry several times the snow of a coastal one. Always size for your own site, and see our snow load guide for how to estimate it.
Connections
Timber rarely fails in the middle of a member. It fails at the joints, so the connections deserve the most attention.
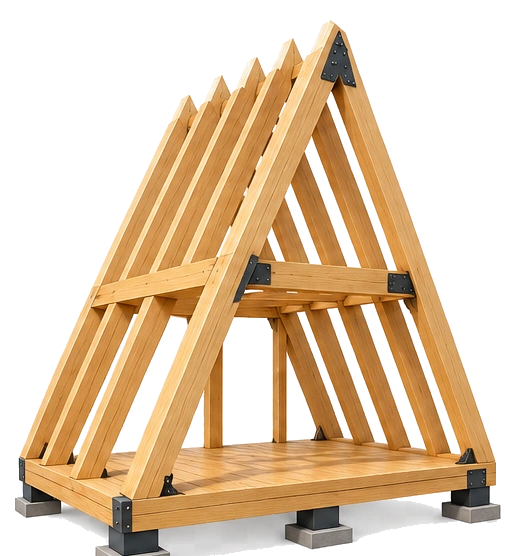 Timber rafter truss connection with heavy steel gusset plates and structural bolts
The ridge connection ties the rafter pair together at the top, usually with gusset plates, straps, or bolts through a structural ridge beam. The rafter-to-floor (tie) connection is the one that resists thrust — it must transfer real tension into the floor, so it relies on bolts or heavy metal connectors, not just nails. The foundation anchor holds the frame down against uplift, because a steep A-Frame acts like a sail in high wind.
The base tie is essential. If that tension path is weak, the frame spreads no matter how strong the rafters are.
| Member | Its job | Typical size / spacing note |
|---|---|---|
| Rafters | Form walls + roof, carry bending and compression | 40–60 cm spacing; deeper sections or LVL/glulam for large spans |
| Ridge beam / board | Joins rafter pairs at the peak | Sized to span between frames; beam if load-bearing |
| Collar ties | Stop slopes bowing, stiffen upper frame | In the upper third of the frame height |
| Floor joists (ties) | Resist outward thrust at the base | Sized as tension + floor load members |
| Base connection | Anchor feet to foundation against uplift | Bolts / metal anchors, engineer-specified |
Build sequence
- Foundation and floor deck — pour or set the foundation, then build the floor. Because the floor is the main tie, it must be square, level, and firmly anchored first.
- Assemble the frames — rafter pairs are often built flat on the deck, then tilted up into place. Working flat makes the ridge and joints far easier to get accurate.
- Raise and brace — stand each frame, plumb it, and hold it with temporary bracing until enough are up to stabilise each other.
- Ridge and collar ties — connect the peaks along the ridge and fit the collar ties.
- Sheathing — clad the slopes to lock the frames into one rigid shell.
- Roofing — add the weatherproof layers over the sheathing.
For the wider build process, our complete A-Frame building guide walks through every stage.
Common mistakes
- Undersized or missing ties — the single most common failure. The roof spreads and the ridge sags over time.
- Poor foundation anchoring — a steep frame catches wind; weak anchors let it lift or shift.
- Ignoring local loads — copying a plan from a mild climate into a heavy-snow region overloads the whole frame.
Safety note: Treat the sizes and spacings here as orientation only. A qualified structural engineer should confirm all member sizes and connections for your specific span and your local snow and wind loads before you build.
FAQ
Why does an A-Frame need floor ties?
Because the sloping rafters push outward at their feet under load. The floor joists act as ties, holding the two feet together so the frame can't spread. Remove or undersize that tie and the walls open up while the ridge drops.
What size rafters do I need?
It depends entirely on your span and your snow and wind loads. A narrow cabin might use modest solid timber, while a wide, tall frame needs deep sections or engineered timber like LVL or glulam. An engineer's calculation for your site is the only reliable answer.
Can I frame an A-Frame myself?
The repeating, simple geometry makes A-Frames one of the more DIY-friendly structures, and building frames flat then tilting them up suits small crews. See our DIY A-Frame cabin guide. Even so, have an engineer confirm the design and connections first.
Plan your frame with confidence
The frame decides how safe, stiff, and long-lasting your A-Frame will be — so it is worth planning precisely before you cut a single rafter. Use our A-Frame Planner calculator to test different widths, heights, and spacings and see how they change the structure and the material list for your project.
The Most Common A-Frame Building Mistakes (and How to Avoid Them)
From undersized ties and poor ventilation to skipped waterproofing and cramped lofts: a rundown of the most common mistakes and how to prevent them.
5 Advantages of A-Frame Construction Over Traditional Building
Why are more people choosing A-Frame? We explore the key advantages of this unique construction — from build speed to energy efficiency.
A-Frame Foundations: A Guide to Choosing and Building
Which foundation to choose for an A-Frame: concrete slab, posts/piles, point pads, or strip footings. Comparing types for different terrain and seasonal use.