Designing an A-Frame for Stargazing: A Dark-Sky Guide from Site Plan to Switches
Plan an A-frame that protects the view after sunset: site choices, glazing, shielded lighting, warm colour temperature, interior layers, and a practical night-use plan.
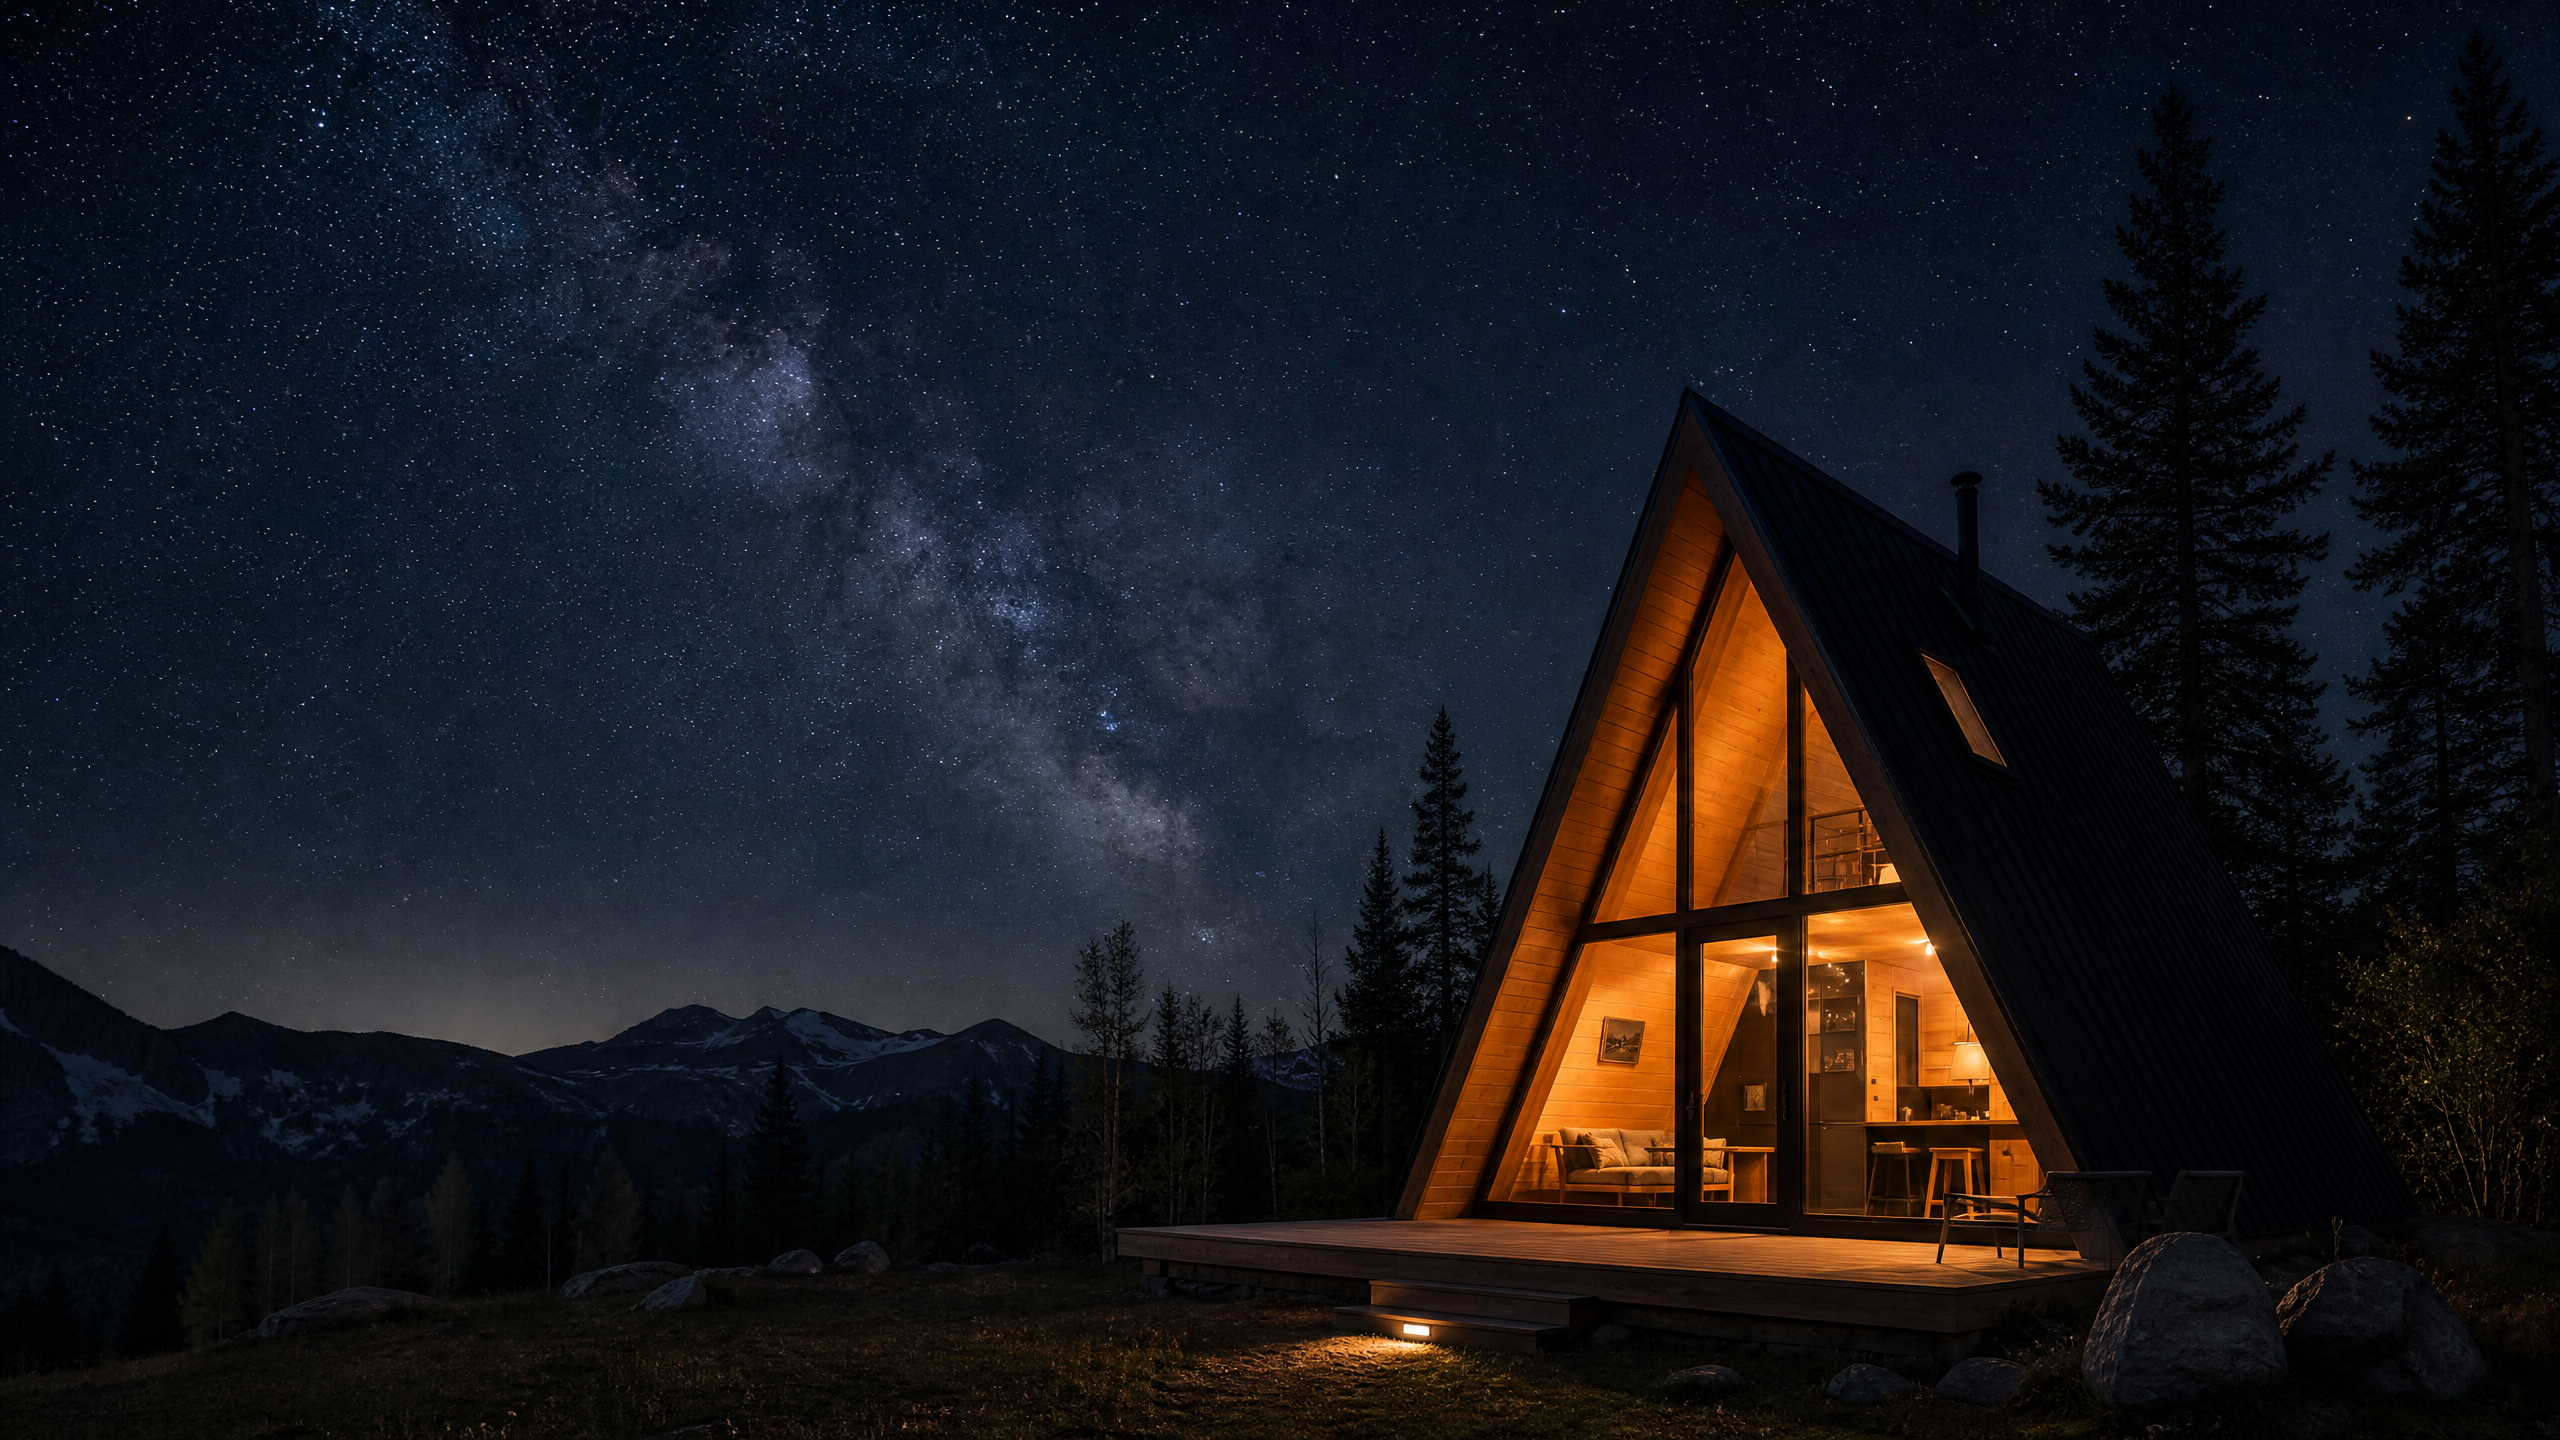
An A‑frame weekend cabin is ideal for a simple, immersive stargazing experience if you treat the building and its systems as part of the nightscape. This guide covers a complete system — site planning, arrival path, exterior lighting, glazing and reflections, interior lighting and habits — focused on making the sky the star without turning the cabin into an observatory. It is intentionally practical and not a general sustainable-building, solar, or construction manual. Consult local requirements and qualified professionals for any installation.
Site planning: horizon, sightlines and trees
- Survey the horizon at the likely stargazing spots (deck, living area, loft openings). Use phone apps and a compass at night to map artificial light domes from towns and nearby roads. Note local seasonal rise/set directions for Milky Way and planets.
- Preserve sightlines without clear‑cutting. Use selective pruning and staggered gaps: keep mature trunks as visual screens for nearby light sources while opening narrow slots toward key sky horizons. Clusters of lower shrubs can mask unwanted light at ground level while leaving sky views.
- Set the cabin so the main glazed face looks toward the darker horizon or celestial targets, and the short gable faces local roads or neighbours. Where full clearance would expose disturbance, position the viewing deck above low obstacles or between tree trunks that frame the sky.
Arrival path and safe access
- Plan the arrival path to be functional, safe, and dark‑sky friendly: a routed path with local signage, low-level shielded fixtures, and a surface that’s visible under dim lighting. Use warm, fully shielded fixtures aimed at the path, not the trees or sky.
- Keep a clear, non-slip route for night access and emergency vehicles if required. Follow local codes and permitting processes — this is planning guidance, not legal advice.
Exterior lighting: keep the sky dark
- Use fixtures that are fully shielded or downward‑directed and aimed only where needed (path, entry step, grill). Hooded bollards or recessed step lights work well.
- Locate lights so they do not shine toward the A‑frame’s glazed face. For deck edges, recessed inboards or step-led strip lights reduce glare and prevent upward spill.
- Minimise the number of exterior fixtures. When needed, use motion sensors or timers to keep light off most of the time.
The five decisions that protect the night
Follow these guiding decisions for every exposed light source:
- Light only for a purpose (illumination, safety, wayfinding) — avoid decorative skyward glows. [1]
- Aim it only at the task — use full cutoffs and directional fixtures. [1]
- Use the lowest needed level — dim where possible; choose lower lumen outputs. [1]
- Control it with timers, dimmers and motion sensors so lights aren’t on all night. [1]
- Favour warmer‑coloured light — lower correlated colour temperatures are less disruptive at night. NPS describes 2700 K as a warm‑white option for many exterior uses and notes 2200 K or amber for sensitive settings; local requirements and qualified electrical professionals must guide any selection and installation. [2]
Deck and seating placement
- Place the main stargazing deck on the darker side of the A‑frame, ideally slightly elevated to clear immediate ground clutter yet shielded from nearby light sources.
- Create seating that faces the sky: low benches, reclining chairs, or a narrow viewing platform aligned to the main glazed triangle so occupants can settle without creating interior reflections.
- Include a small, shielded task light for reading star charts that can be dimmed or have a warm amber option.
Managing reflections in a triangular glazed façade
Triangular glass maximises sky view but is reflective when interior lights are on. Strategies to manage reflections:
- Use a transitional buffer: a low interior ceiling plane or a narrow entry vestibule between the main living area and the large glazing to keep bright tasks away from the glass.
- Fit blackout curtains, roll shades or removable dark cloth covers for the glass to close when interior lights are needed for chores or at bedtime.
- Choose low-reflectance interior finishes near the glass (matte surfaces, non‑glossy furniture) and position seating away from reflective angles.
- Use focused, downward task lights inside, not the diffuse overhead or uplights that reflect on glass. Dimming or turning off interior lighting during stargazing dramatically reduces reflections.
Protecting sleep in a loft
- A sleeping loft can be the perfect quiet watcher’s perch; protect it from light spill and noise:
- Zone lighting so loft lights are on a separate circuit or scene and can be turned off independently.
- Provide opaque or blackout window coverings for the loft glazing and a door or curtain that isolates wakeful occupants from living‑area lights.
- For night visits to the bathroom or kitchen, supply a dim, warm (amber/red) nightlight on a motion sensor to avoid disturbing sleepers.
Interior lighting and simple control strategy
Adopt a minimal‑impact interior lighting system:
- Layer light: downlights or pendants for tasks but keep them low output and dimmable.
- Reserve any higher‑output lights for cooking/cleaning tasks only, with timers or motion control where appropriate.
- Keep a stargazing scene that kills interior lights and enables a tiny exterior path light for safety.
A simple lighting-control plan helps everyone use the cabin correctly. Below is a suggested scene plan.
| Night-use zones | Desired feeling | Lighting approach |
|---|---|---|
| Entry path and steps | Safe, calm arrival | Fully shielded, downward lights, motion‑activated, warm (≤2700 K) |
| Deck / viewing area | Immersive darkness | No fixed lights; low recessed step or guardrail markers dimmable; amber handheld torches |
| Living area (stargaze time) | Low-key, focused | All interior lamps off; small, dimmable red/amber task lamp for charts |
| Kitchen / prep | Functional | Local task lighting on dimmer; turn off after use; motion or timer control |
| Loft sleeping | Dark, undisturbed | Blackout shades; separate switch; amber nightlight on motion only |
A simple switch plan
| Scene | What is on | What is off |
|---|---|---|
| Arrival | Path lights (motion), minimal entry step light | Deck, interior main lights |
| Stargaze | Deck/guardrail markers (low) and chart lamp | Interior overheads, kitchen task lights |
| Evening tasks | Kitchen task lights, reading lamp | Deck, bedroom loft lights |
| Sleep | Loft blackout, minimal amber nightlight | Interior area lamps, deck lights |
Habits and social rules
- Adopt a house rule: no bright interior lights during scheduled stargazing windows. Keep phones on low brightness and in airplane mode if practical to eliminate stray screen glare.
- Teach guests to use dim red or amber lights for orientation and to close any curtains when leaving a room at night.
- Schedule exterior maintenance, such as driveway work, for daytime only.
What to decide before you model the cabin
Before creating a 3D model, decide:
- Which horizon directions and celestial targets are priorities.
- Where the arrival route and parking will be located relative to the A‑frame face.
- How much of the façade will be glazed and where balconies/decks will sit.
- Lighting zones and whether circuits will be separated for scene control.
- Local access, setback and lighting ordinances; engage a qualified electrician for circuits/specs and check permitting early — this is planning guidance, not legal or electrical advice.
A modest A‑frame that respects its night environment will provide memorable stargazing without the complexity of a full observatory. Thoughtful siting, disciplined lighting, practical glazing strategies and simple habits make the sky clearly visible and sleep comfortable.
References
[1] DarkSky International — Five Principles for Responsible Outdoor Lighting [2] U.S. National Park Service — Outdoor Lighting Principles
End with an invitation to test orientation, glazing, terrace placement and restrained lighting in A-Frame Planner.
Smart A-Frame Home: Automation and IoT for Your Cabin
How to fit an A-Frame with smart systems: remote heating, security, humidity sensors, and energy monitoring for a home that isn't used every day.
The Low-Barrier A-Frame Retreat
A useful A-frame solution begins with a real weekend scenario, not a theme. Imagine guests with different energy, balance and mobility needs sharing a compact weekend cabin. The cabin has…
A Compact A-Frame Kitchen Guide
A good A-frame guide starts with observation, not a universal prescription. Consider two people preparing breakfast while one person washes up in a narrow cabin kitchen. The cabin’s…